Working with Databases
This tutorial shows you how to create a database, add data, and then set permissions for the database.
Provision the IBM Cloudant Service in Bluemix
- Visit IBM Bluemix at http://console.ng.bluemix.net.
- If you don't have a Bluemix account, click Sign Up. Complete the fields on the form, and click Create Account.
- If you have a Bluemix account, click Log In. Provide your IBMid and password, and click Log In.
- In the top navigation bar, click Catalog.
- In the left navigator, under Services, check Data and Analytics.
- Click Cloudant NOSQL DB.
- Accept the default service, or provide a different name, and click Create. This brings you to the IBM Cloudant Bluemix Service Launch Page.
- Click Service Credentials. Note your username, password, and host name. You will be able to use the URL (which also passes your username and password) to access your database from a browser.
- Click Manage.
- Click Launch to load the Cloudant dashboard.
Create a Database
- From the Cloudant dashboard, at the upper right corner, click Add New Database.
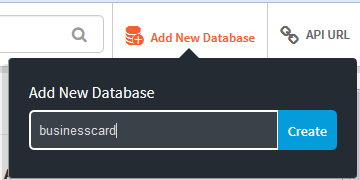
- Type businesscard for the database name, and click OK. The database name should contain only lowercase alphanumeric characters and no spaces.
Add documents
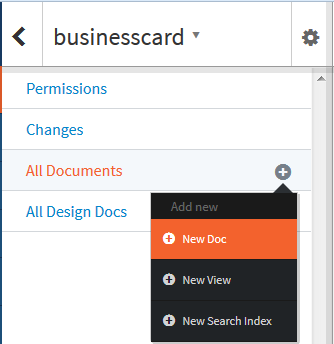
- The database might take a few seconds to be created. You should then be on the database tab in the Cloudant Dashboard. Click the + sign next to All Documents, and select New Doc to create a new document.
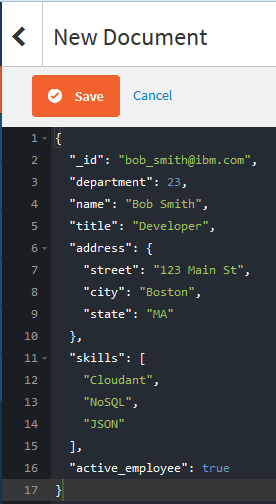
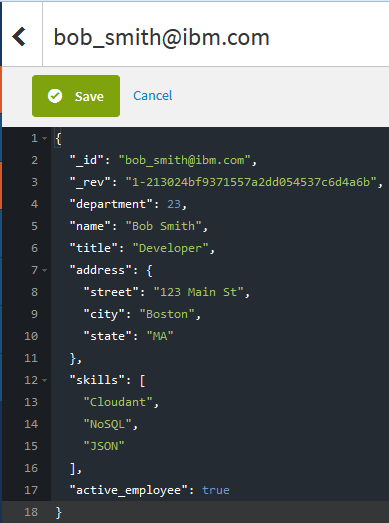
- The dashboard includes an easy-to-use JSON editor that helps ensure the documents use the correct JSON syntax. A JSON document includes a set of key value pairs: a name and its value. When you create a document, Cloudant automatically generates a unique document identifier, or you can provide your own. The value of the id key is how the database system identifies each document and must be unique in each database. Copy/paste the following text into the editor:
{
"_id": "bob_smith@ibm.com", "department": 23,
"name": "Bob Smith", "title": "Developer", "address": {
"street": "123 Main St", "city": "Boston",
"state": "MA"
},
"skills": [ "Cloudant", "NoSQL",
"JSON"
],
"active_employee": true
}
- Cloudant allows you to use a flexible schema. Each document can use the same schema or use a unique schema. The values in a document can contain numbers, strings, nested objects, arrays, or Boolean data. Your document should look similar to the following image:
- Click Save. Notice that Cloudant populated the _rev field.
- Click Cancel to go back to viewing all the documents in the database.
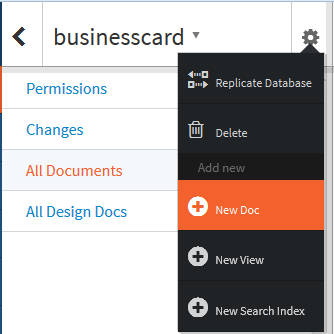
- To add another document to the database, you can click the + sign next to All Documents again, or alternatively click the Settings wheel next to the database name as shown in the following image.
- Create another business card style document using the same format as the previous document containing an id, name, title, and address of your choosing.
- Click Save.
Update a document
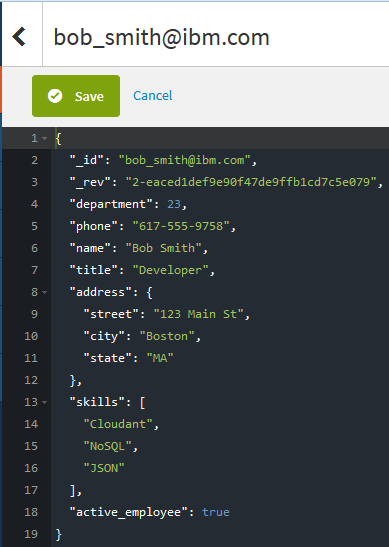
- Now observe what happens to the _rev field when a document is updated. Edit the document you just created, add a phone number field, and click Save.
In the following example, notice that the _rev integer is incremented by one, and hash of the document body is now changed.
Clone a document
- With the document still open, click Clone Document in the top right corner.
- Provide a unique ID for the cloned document.
- Change the name, title, address, and phone number for this new cloned document.
- Click Save, and then click Cancel.
Delete a document
- From the All Documents view, select one of the documents.
- In the header, click Select, then click the Trash icon as shown in the following image.
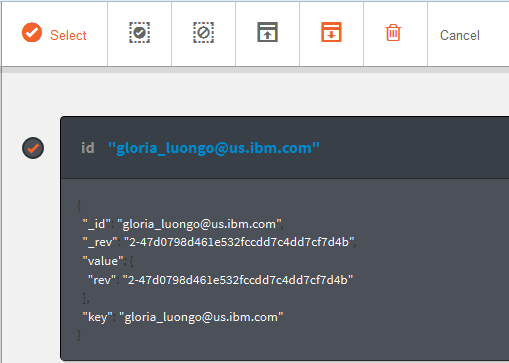
- When asked to confirm whether you want to delete the document, click OK to delete it.
Change database permissions
- Open the businesscard database, and click Permissions.

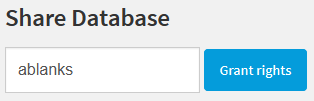
- In the Share Database field, type ablanks, or the account name of any other Cloudant user, and click Grant rights.
- Select Reader and Writer next to ablanks or the other Cloudant account that you added.

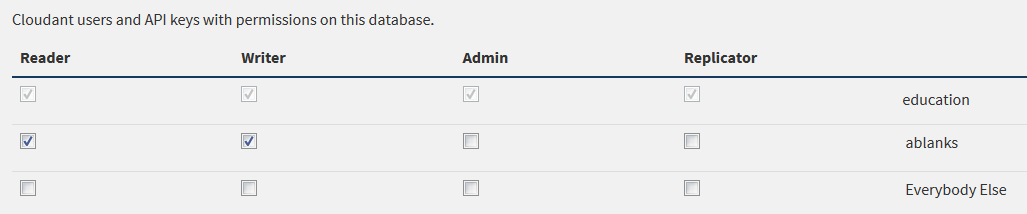 To provide world-writable permissions, you would select Reader and Writer next to Everybody Else.
- Click Generate API key. You’ll see a message indicating that the key is being generated, then followed by a message similar to the following image.
You can use this key and password as credentials for accessing the database programatically.
Find more videos and tutorials in the Learning Center.